
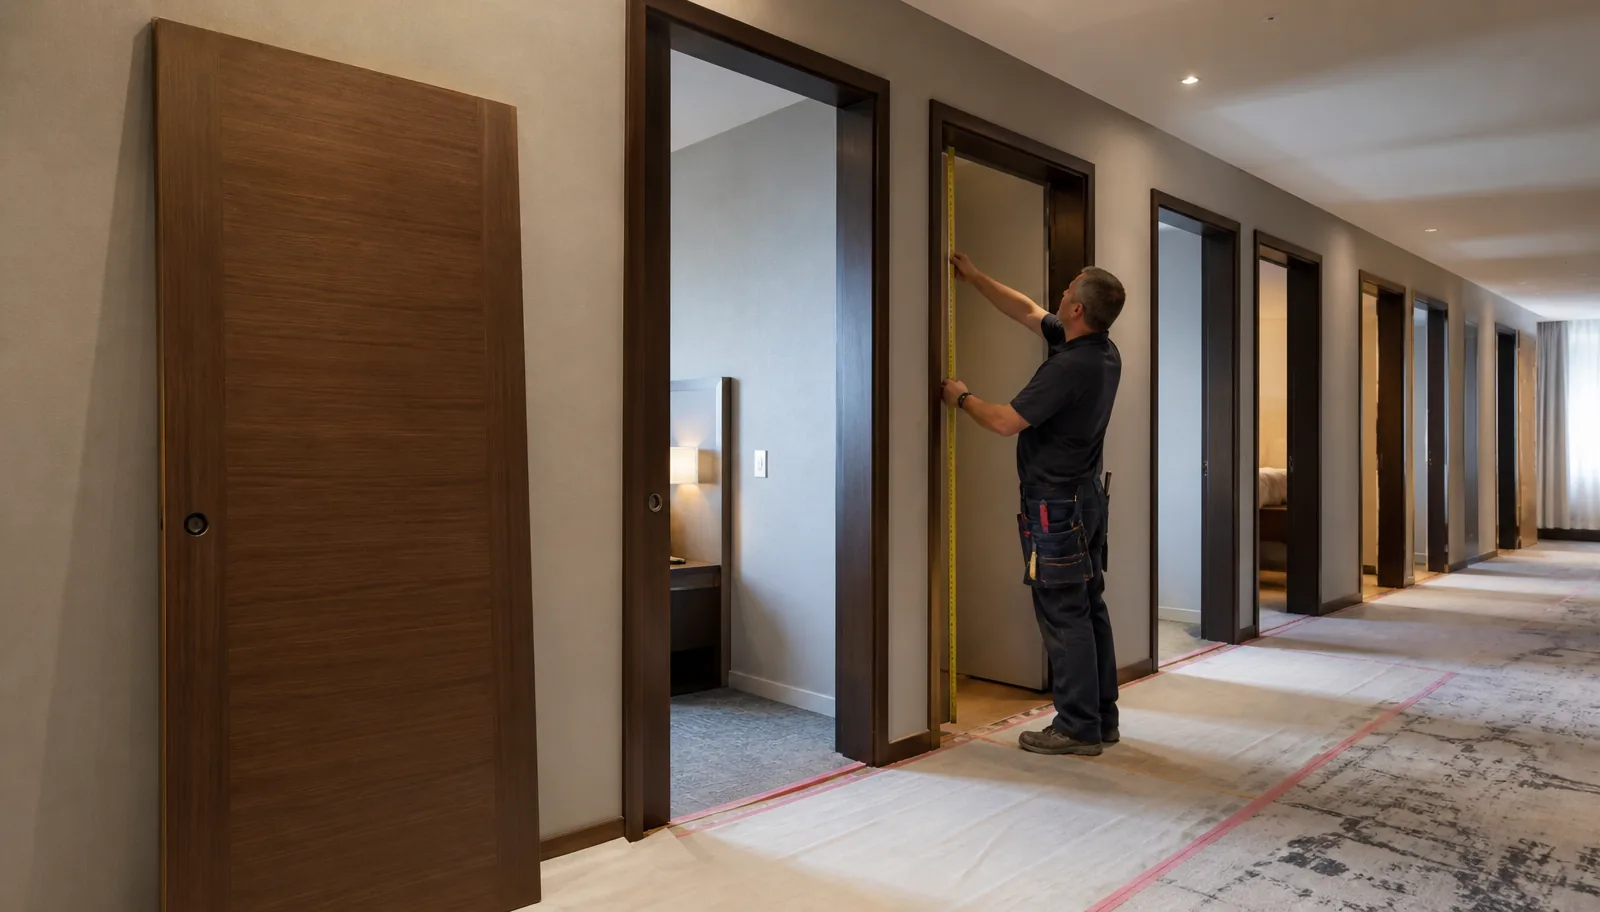
Quick answer
A sticking interior door is a symptom, not a diagnosis. Before trimming a door or blaming its material, identify where it makes contact, check the installed frame and hardware, and record what changed after installation. On a hotel or apartment project, one documented sample investigation is more useful than making the same unverified repair across every room.
Public homeowner discussions repeatedly describe two different situations: doors that become difficult to close seasonally, and doors that start rubbing after removal or reinstallation. These reports do not prove the cause of a project defect. They do show why a procurement or site team needs a consistent inspection record rather than a material-based assumption.
1. Record the exact symptom before changing anything
Assign the opening a room or door-schedule ID. Photograph the closed door from both sides and the point where it touches. Record whether the symptom occurs throughout movement or only when latching.
| Observation | What the project team should check next |
|---|---|
| Contact at the top or side of the frame | Installed clearances, frame alignment, hinge position and the leaf itself |
| Bottom edge touching the floor | Finished-floor level, changes in floor covering and the scheduled undercut |
| Door closes but does not latch | Latch and strike alignment, hardware operation and whether the leaf seats normally |
| Painted surfaces adhere when closed | Finish condition and the applicable finishing or maintenance instructions |
| A problem appears only at certain times | Dated observations of site conditions and any changes since installation |
These are investigation routes, not diagnoses. Several causes can produce similar marks, and a single photograph rarely settles responsibility.
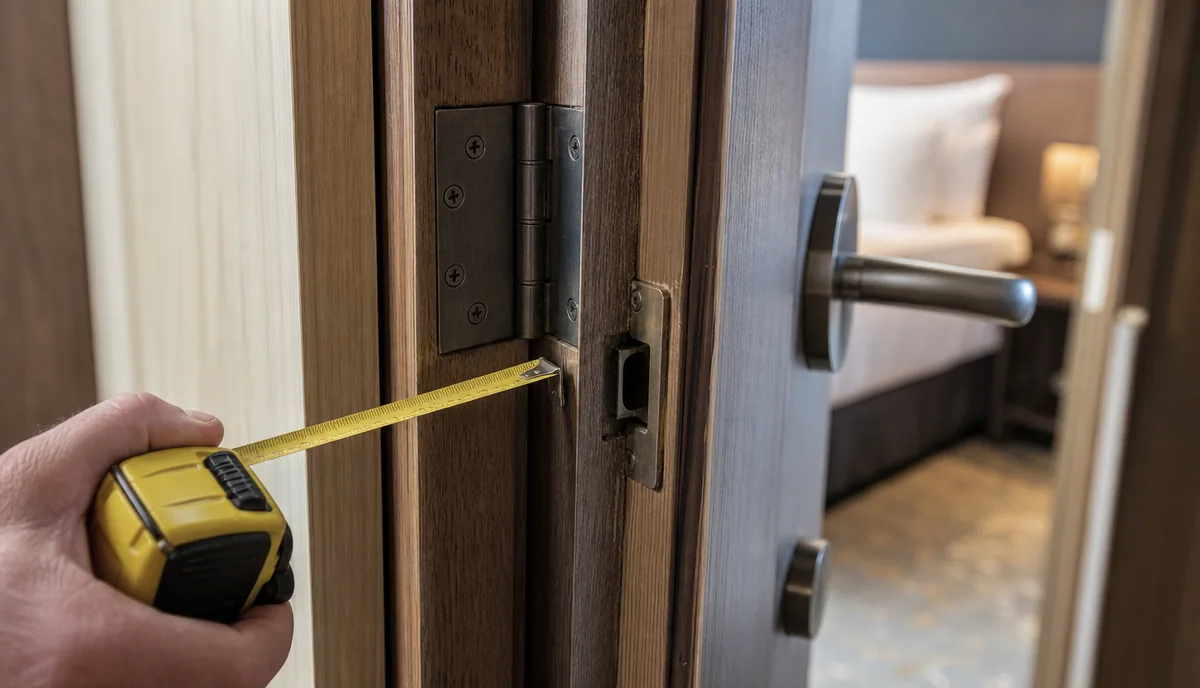
2. Inspect the installed opening, not just the door leaf
Check the frame for square and plumb using appropriate site measuring tools. Note where the clearances differ rather than assuming a uniform gap exists. Review hinge seating and fasteners without making an unapproved alteration.
Compare the opening with the approved door schedule and installation details. Was this the correct leaf, frame and hardware combination for that location? Has the frame moved or been disturbed by later work? Were floor finishes installed after the door was fitted?
A useful report records measurements and the method used. “Door does not fit” is much harder to act on than “contact occurs at the upper latch-side corner after the floor finish was completed.”
For bottom-edge issues, use the project's approved dimensions and review our door undercut and finished-floor clearance guide. Do not copy a generic clearance from another manufacturer's product.
3. Establish the installation and storage timeline
Record the delivery date, storage location, installation date and date the issue first appeared. Include relevant wet trades, changes to heating or ventilation, floor-finishing work and any removal or rehanging of the leaf.
Where environmental measurements are available, attach dated readings rather than guesses. Where they are not available, say so. A seasonal complaint may justify further investigation, but it does not by itself prove moisture movement or a manufacturing fault.
Our delivery, storage and site-readiness checklist helps teams collect these records before installation. Manufacturer care guidance also illustrates why storage, environmental conditions and finishing instructions belong in the review. Exact requirements must come from the supplied product's documentation.

4. Do not turn a sample problem into a batch modification
Before planing, sanding, drilling or moving hardware, obtain the applicable written instructions. Ask the supplier what can be adjusted on that specific construction and what evidence is required for a technical review.
A general interior-door adjustment method is not automatically suitable for every WPC, timber, composite or other door. Any trimming allowance, edge treatment or hardware restriction must be checked for the actual model. For a fire-rated or otherwise certified assembly, refer proposed changes to the responsible qualified party and the assembly documentation before work begins.
There is also no sound basis for declaring that every sticking door is warped—or that a particular material can never move. Separate observed facts from proposed explanations.
5. Send a compact, complete issue report
For each affected opening, collect:
- Project, building, floor and room or opening ID.
- Product reference, door schedule and available batch identification.
- Delivery, storage and installation dates.
- Overall photographs and close-ups of the contact point.
- Measured clearances and the measurement method.
- Frame and hardware observations, including any later alterations.
- Finished-floor status and relevant site-condition records.
- Number of affected doors compared with the number inspected.
- Any repair already attempted, with dates and photographs.
Keep an untouched representative example where practicable and agreed with the project team. If a corrective approach is approved, record its result on a sample opening before authorizing repeated work.
6. Decide whether to repair one opening or investigate the batch
Group the observations by door mark, floor, installation crew, date and symptom. Count both affected and inspected openings. A single latch-side contact after one hinge was rehung calls for a different review from the same contact pattern across a repeated door mark. That comparison is a triage step, not proof of the cause.
| Finding | Project decision before work repeats |
|---|---|
| One opening differs from otherwise comparable rooms | Check its installed frame, hinge and hardware against the approved schedule; document any site adjustment. |
| Several openings share a mark or batch | Pause repeated cutting or drilling; compare untouched examples and ask the supplier for model-specific review. |
| Contact follows a flooring or fit-out change | Compare as-built floor and threshold details with the approved opening schedule before deciding responsibility. |
| A fire, smoke or accessibility requirement applies | Escalate to the responsible qualified project party and governing assembly documentation before alteration. |
Record who authorizes the sample corrective action, the exact opening used, the result after operation, and the acceptance criterion. Do not release the same action for every opening until the project team accepts that sample and confirms the relevant door construction permits it.
7. Improve the next procurement package
For the next order, agree a sample-installation review and a site-readiness release point. Confirm who checks the finished opening, who approves hardware compatibility and who records the initial operation of the door.
Specify the information that must accompany delivery, including product identification and model-specific installation and care instructions. A clear handover record makes later troubleshooting faster and reduces avoidable disagreement between trades.
Explore interior door options and WPC doors against the requirements of each room type, rather than selecting by appearance alone. For a project discussion, provide the door schedule, quantities, opening details and installation stage so the proposed configuration can be reviewed.
Frequently asked questions
Does a sticking door mean the leaf is warped?
Not necessarily. Frame alignment, hardware position, floor changes, finishes and the leaf itself all need consideration. Establish the contact point and inspect the complete opening before assigning a cause.
Can every interior door be trimmed to stop rubbing?
No universal trimming allowance applies. Obtain instructions for the actual door and review any warranty, construction or certification constraints before modifying it.
What is the most useful first step on a multi-room project?
Document representative affected and unaffected openings using the same record format. This gives the project team a comparison before it approves a repeated repair.
Sources and further reading
- Reddit: Advice for sticking doors — public user experiences; not a technical diagnosis.
- Reddit: Tips on unsticking a seasonally sticky door — context for recurring questions, not installation instructions.
- WDMA: Architectural Door Standards — industry context for defining architectural wood-door requirements; not a VISFURN product certification.
- Simpson Door: Care and finishing — another manufacturer's care guidance; its numerical allowances and warranty conditions are not VISFURN specifications.
Review your next interior door order
Send the door schedule, quantities by mark, opening and finished-floor details, destination and project timing. If the project is already installed, include the affected/inspected count, dated photographs and an untouched comparison opening. VISFURN can review the proposed supply scope; an on-site diagnosis or repair method needs the actual assembly documentation and responsible installer.
Request an interior door project review →